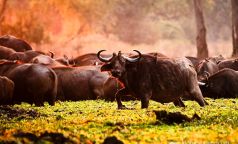
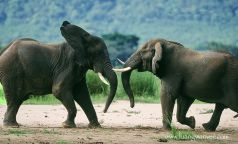
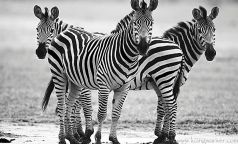
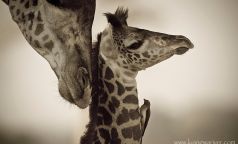
 Wildlife photography has become very popular over the last few years, principally since digital SLR photography has become more readily available. More and more wildlife enthusiasts have started venturing into nature photography. The African Wilderness is a paradise for keen photographers, both beginners and professionals.
I started photography when I got introduced to “Wild Africa”. Being a Dutchman and growing up with relatively little wildlife in my surrounding, I have always been fascinated by African wildlife, mostly seen from programs on television, before I could afford to experience Africa in real life. Now, more than 10 years later, I ‘m a professional guide and owner of my own lodge; Track and Trail River Camp in South Luangwa – Zambia.
Getting more out of your safari pictures
Beautiful nature images rarely happen by chance. Leaving it to luck will only lead to disappointments. To become a good wildlife photographer, you must have the mind of an ecologist, the spirit of a fighter and the senses of a wild animal. Roughly 80% is about ecology and 20% about photography. Of course, not everybody wants to become a wildlife photographer, but most of you wouldn’t mind coming home with better wildlife shots.
What helps to improve your safari pictures?
Timing:
Go out and find your subject during ‘the golden light’ moments of the day. The ‘digital darkroom’ gives us tremendous control over our raw images. We can make them darker, lighter, change the colour balance, increase saturation and sharpness and a lot more. A program used for image improvement is Adobe Lightroom Photoshop. The best natural colour balance will be found either early in the morning or later in the afternoon, when the sun is low. In most cases, I underexpose my pictures in Africa with minus 1/3 to increase the saturation which makes pictures more alive.
Homework:
It is a must to have a basic understanding of your SLR camera, so that you will be able to handle it without thinking too much. The intended image you had in mind could be history before you take it. The solution is to predict the shot, visualize what is likely to happen. Have your camera framed and ready for the image that is about to happen, instead of reacting to what is happening at that very moment. In other words, you need to think ahead and anticipate what is about to happen.
The Exposure Triangle
The exposure for every picture is determined by four elements: light, shutter speed – aperture and ISO. Light is one element that is uncontrollable unless you work from a studio. The other three you can control on your camera and are important to balance for the right exposure:
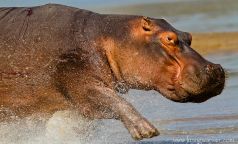
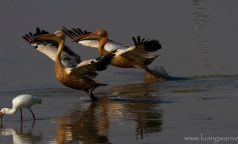
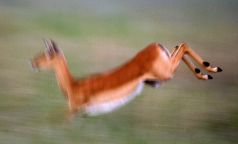
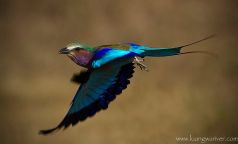
- Shutter speed: this is the length of time the camera’s shutter is open, and the quantity of light exposed to the sensor. The longer the exposure the more light on the sensor. When do you set your camera on shutter speed priority? For example if you like to freeze the motion on a fast moving subject, like a fleeing impala or a flying bird, allowing you to handhold your camera without blur, you have to go for a relatively high number > 1/1000 sec. Depending on the light conditions, your camera will work with the other members of the triangle and will adjust the aperture and your ISO in order to maintain the preferred shutter speed setting of 1/1000sec.
- Aperture: Like the pupil in a human eye, every lens has a mechanism that expands and contracts to control the amount of light getting through. The size of the opening is called the aperture, the bigger the aperture the more light will reach the sensor and the smaller the aperture, the less light reaches the sensor. Aperture also affects more than just exposure. The larger the aperture, the lower the number, the less depth of field. And the smaller the aperture, the higher the number, the more depth of field. By using an aperture priority setting, you basically control which elements in your picture remain visible to the viewer of the image and which elements will need to come out blurred or hidden.
- ISO: While aperture and shutter speed determine how much light reaches the sensor in your body, ISO describes how the sensor reacts to that light. The higher the ISO number, the more sensitivity, and the greater the light-gathering capacity. But the greater sensitivity comes at a price. The higher the ISO the more noise (visible pixels) you will get.
Know your subject and the environment:
If you have enough time, you can explore the habitat of your subject(s). If you are on a 2 to 3 week holiday, I would suggest you go out with a professional guide that knows the area. It will save you a lot of time and increase the success rate considerably.
Knowledge of animal behaviour is also a very important skill that will help you get the right picture. Knowing when the bird is about to fly off, which direction and at what speed can be very helpful for adjusting your camera settings and composition and in the end, get the result that you had in mind.
What is the way forward?
Try at all times to avoid auto settings, like ‘Full Automatic’ or’ P=Program’ as it can override your choices that you have in mind. It’s better to be in control and work or even experiment with the exposure triangle, meaning test your boundaries a bit! For example make your pictures more dynamic by deliberately reducing the shutter speed on that same fleeing impala. Start by setting the camera on shutter speed priority. Before, you used 1/1000sec to ‘freeze’ the impala in flight. But now, try setting the shutter speed on 1/30sec. Panning is an effective technique to translate movement to a still image. When you use the technique, you are following the subject during the exposure, creating a (relatively) sharp subject against a blurry background. Don’t forget to set your camera to (high)-continuous speed shooting and continuous focus (AI servo for canon users).
Safari & Photography
I can’t think of a better combination than nature and photography while on safari. Some safari destinations are better than others. At some destinations you are only allowed to do safaris from a closed vehicle which has the disadvantage of taking pictures from high up (roof level). In my opinion, an open game viewer is much better so you don’t miss out on anything and you are able to take pictures from a lower angle. Some safari destinations are very busy and sightings are often crowned with vehicles, so it’s hard to get your subject in your viewer without the car tyres of another vehicle.
Wildlife photography needs practise and even that’s no recipe for success. Starters will soon realize that if you keep on practising, photography on its own will make you hungry for more. Your photographic vision will evolve and you will make more creative images over the years to come.
This is a journey without destination. We keep learning not to ‘get there’ but for the joy of being wherever we are…
South Luangwa & Photography
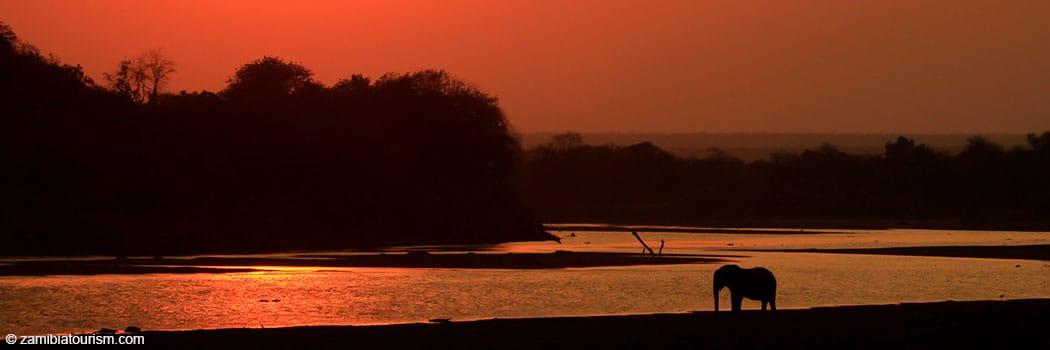
Near the north-eastern border of Zambia lies the Luangwa Valley – it supports one of the greatest concentrations of wildlife to be found anywhere in the world.
South Luangwa is one of the greatest wildlife sanctuaries in the world. The park’s 9050km2 is host to a wide variety of wildlife, birds and vegetation. The quality of guiding is of a very high standard and all driving and walking guides have to pass an examination and many hours of practical application in the field.
The changing seasons add to the Park’s ‘richness’ ranging from dry, bare bushveld in the winter to a lush green wonderland in the summer months. There are 60 different animal species; the only notable exception is the rhino, sadly poached to extinction.
Wildlife
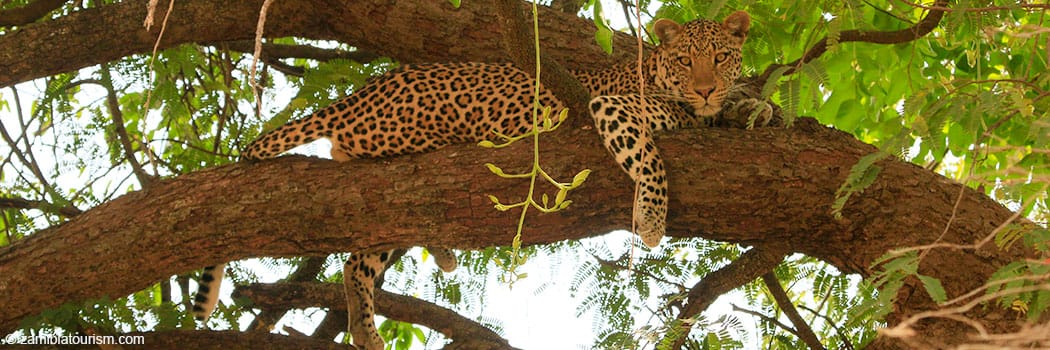
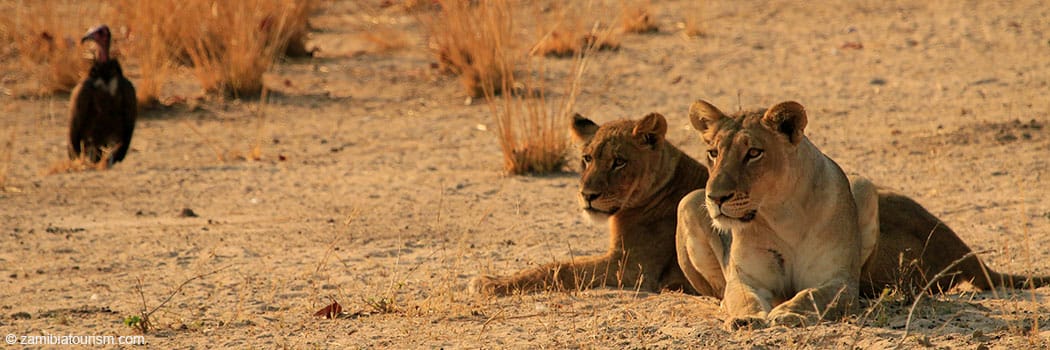
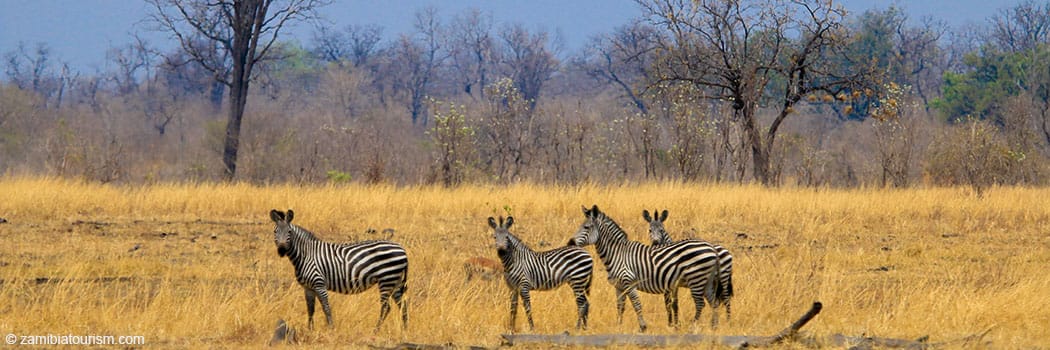
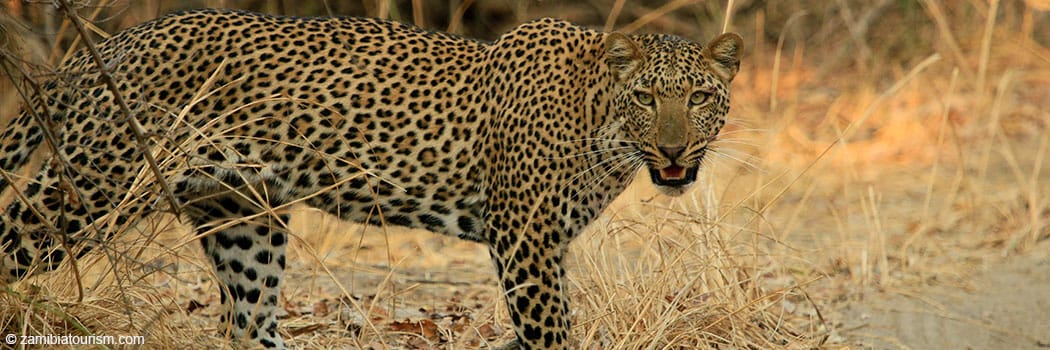
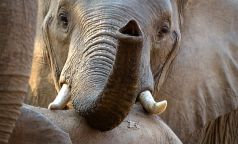
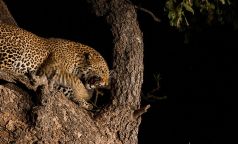
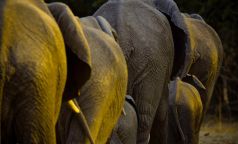
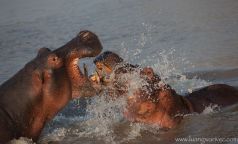
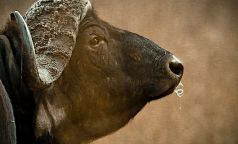
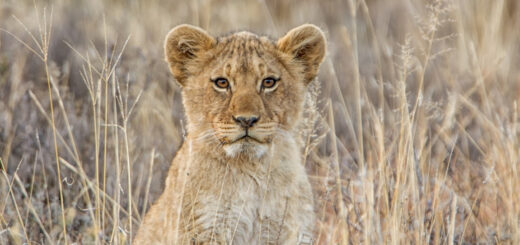
Wildlife is abundant in South Luangwa. Most species are familiar with the cars driving inside the national park and are very calm and approachable. South Luangwa has one of the highest concentrations of leopards which are a treat for every wildlife enthusiast and photographer.
Birdlife
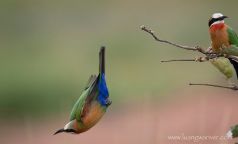
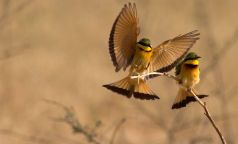
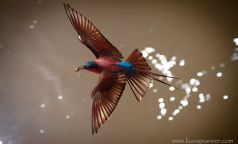
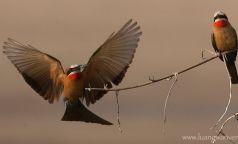
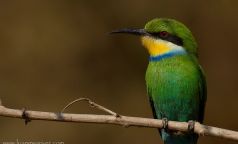
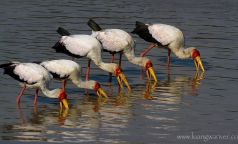
With over 400 different bird species that includes 39 birds of prey and 47 migrant species, there is plenty for the birdwatcher to spot whatever the season.
Different seasons with different photographic scenes. Most people are advised to come during the dry months from April until November. However for photography, the off season months are very interesting as well.
Some advantages of travelling off- season:
- After the first rains the dust settles in and makes the air more clear
- Dust in the air makes it difficult to change lenses
- Less tourists and less disturbance in the bush by other vehicles
- The number of birds increases due to migrating species
- Better prices and off- season deals make traveling more affordable
Enjoy South Luangwa at its best with a private guide or when attending a photographic workshop.
This article was written by Peter Geraerdts, owner of Track and Trail River Camp./http://www.zambiatourism.com/portraits-of-the-wild-in-south-luangwa/Source:-http://www.zambiaembassy.org/in-the-news/top-photographic-tips-for-south-luangwa


